I have had a couple of weeks on holiday from work and have spent some of this time modelling. I have finally painted my plastic laser cut bridge.
The plastic was first primed with two coats of Halfords grey plastic primer followed by a couple of coats of Plasti-Kote tan suede paint to provide some texture to the stone.
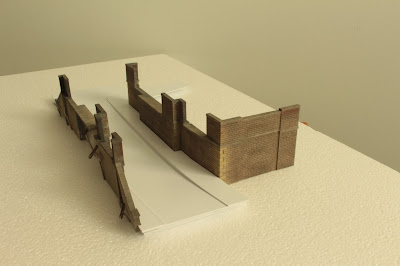
 |
| Bridge parts following priming and suede coat |
The bridge has then been painted using Winton and Newton oil paints, which have been dry-brushed on in the manner described in David Wright's books - see www.dovedalemodels.co.uk. The paints take between two and five days to completely dry out and I found this time very useful to blend colours and re-work any areas that I was not satisfied with.
 |
| All paint types and colours used to paint bridge |
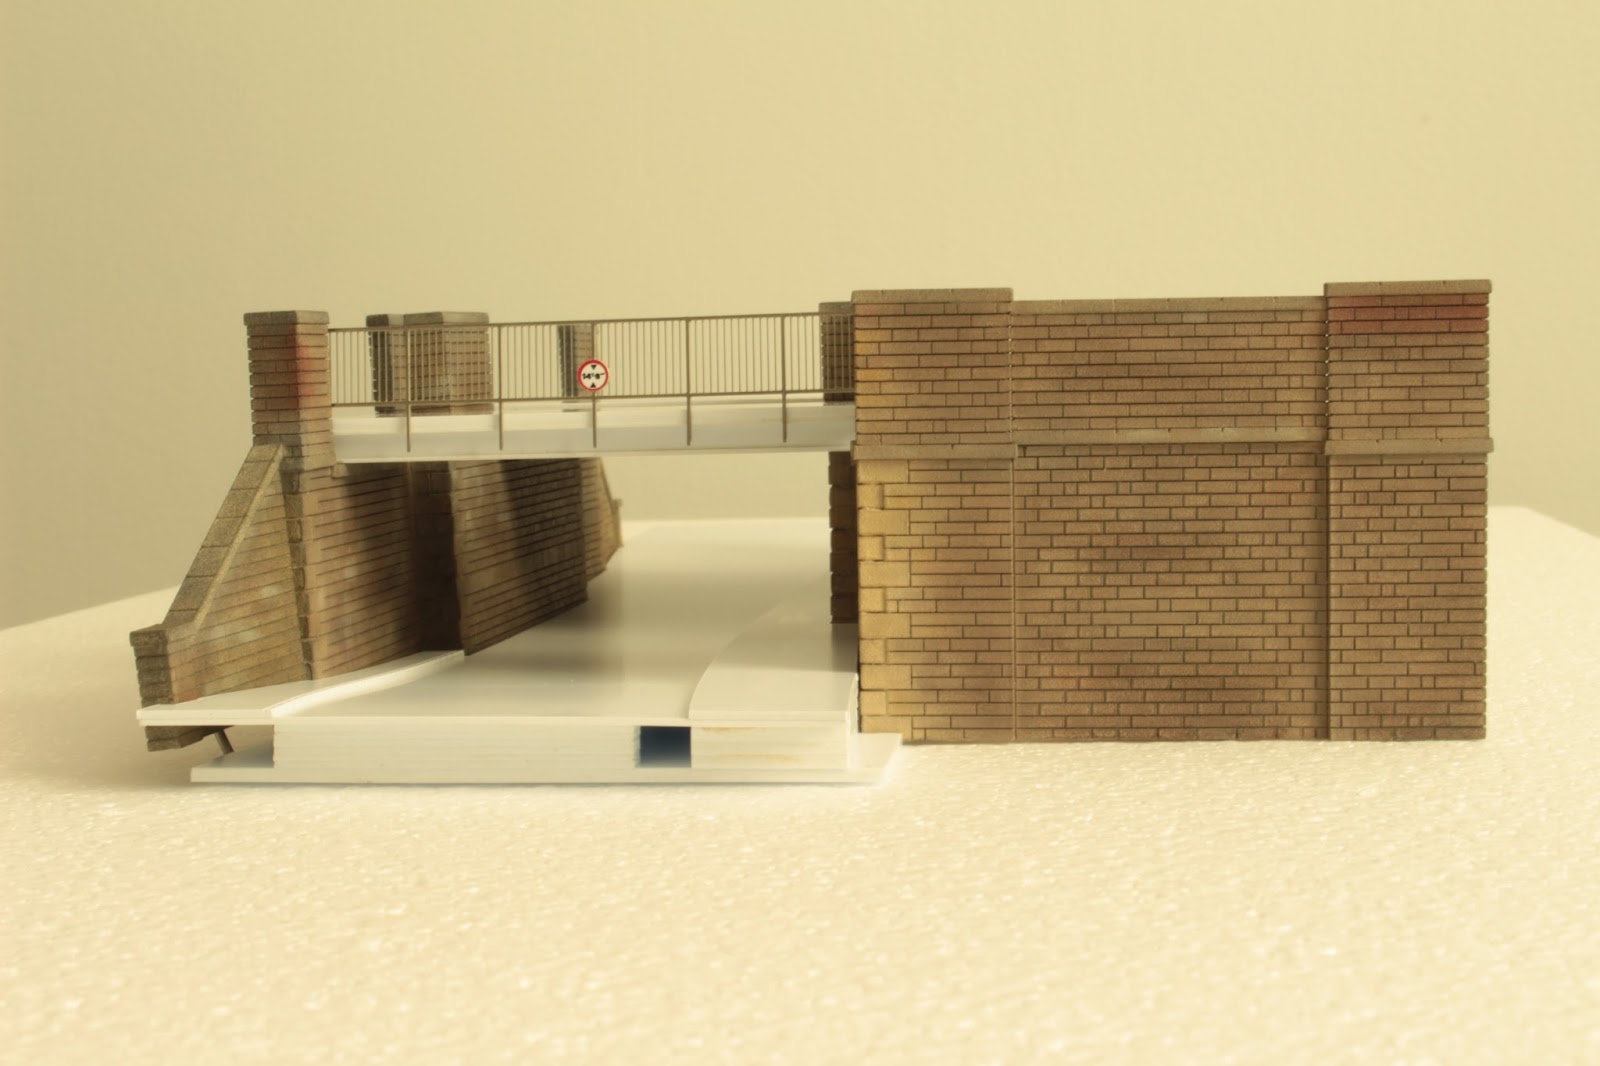
Below are photos of the completed model bridge. The road is still to be painted but shows the original plastic colour and texture.
 |
| Painted stonework without railway bridge supports |
 |
| Bridge support installed together with etch fencing |
 |
| Bridge from other side note the 14' 6'' height limit i.e. 29mm |
 |
| Bridge next to a £1 coin for size reference |
 |
| Seacow passing over bridge |
The laser cut etch mortar lines are quite deep and therefore I plan to fill these with talcum powder and then seal with a spray matt varnish to fix in place. I then plan to apply an acrylic wash to colour the mortar.
As the oil paints take such a long time to dry, I will wait at least a week to avoid any talcum powder sticking to the stone surface. If anyone has any alternative ideas for filling the mortar lines I would be pleased to receive your comments.


That looks superb
ReplyDeleteVery nice!
ReplyDelete