Sunday 7 August 2016

Roads


I have just completed painting the roads and pavements below the railway bridge and station car park.

Road below railway bridge and station car park


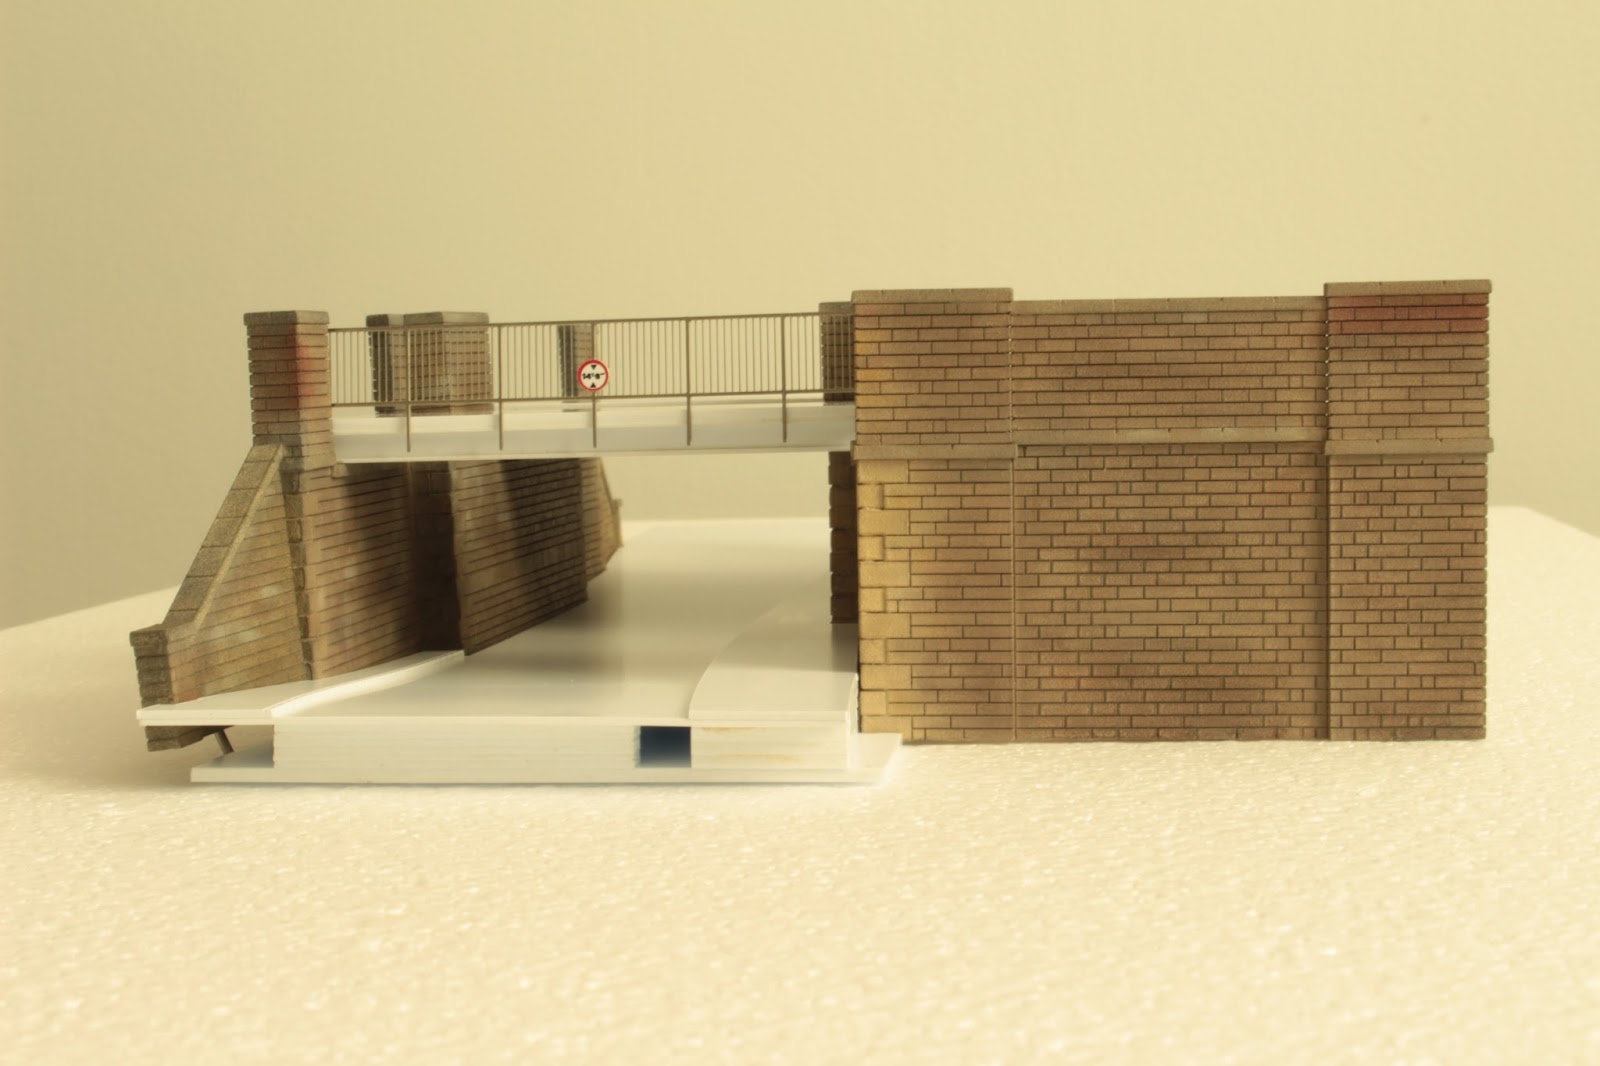
The road and pavements including all the paving slabs were laser cut from white plastic and once assembled sprayed with two coats of grey plastic primer. A wash was then created from oil paints and white spirit which was then dabbed on with a make up brush. The road and pavement colour was created from a mix of grey and white with a little bit of yellow to warm the colour slightly. A very small amount of blue was also added for the road but not pavements.

Paint colours used 


After the wash had dried oil paints were then dry brushed on to provide some subtle weathering to the road and pavements surfaces. The paving slabs were also painted by a dry brush using a mix of grey, white and yellow.

The road markings were produced using a laser cut stencil.

Laser cut stencils


The size and shape of the road markings were taking from the  Traffic Signs Manual Chapter 5. The disabled sign and bus stop sign were imported into Corel Draw from the traffic sign manual and then scaled to the correct size. Other road markings were drawn based on the details in the manual.

Stencil used for road below bridge


The bus stop stencil had to be created from two separate stencils as some plastic had to remain to hold the centre of the B, O, and P together. The holding plastic varied between the two stencils so that the full letters could be completed. The wheel for the disabled sign was also created from two stencils as the gap between the person and chair was so small it would not have been possible to laser cut this out. The edge of the stencils were designed so that they would fit against the paving slabs so consistent alignment between different stencils could be maintained.

Stencil used for car park


The road markings were painted again using oil paints that had been allowed to dry over night. These were then dry brushed on through the stencil. it was very easy to apply too much paint through the stencil so a bit of practice was needed to get the correct amount of paint onto the road through the stencil.


Wednesday 4 May 2016

Station Painting

I finished painting my laser cut platforms over the bank holiday weekend.  As with my bridge the plastic was first primed with two coats of Halfords grey plastic primer.

The platform has then been painted using Winton and Newton oil paints. To begin the oil paints were thinned down with white spirit which was applied to the surface as a wash by stippling the surface using a make-up sponge.  After the wash had dried additional colours were dry brushed on.

Completed platforms with paint colours used
Overview of platforms on layout
Close up of platform 1
Close up of platforms 1, 2 and 3

Monday 28 March 2016

Bridge Painting

I have had a couple of weeks on holiday from work and have spent some of this time modelling. I have finally painted my plastic laser cut bridge.

The plastic was first primed with two coats of Halfords grey plastic primer followed by a couple of coats of Plasti-Kote tan suede paint to provide some texture to the stone.

Bridge parts following priming and suede coat


The bridge has then been painted using Winton and Newton oil paints, which have been dry-brushed on in the manner described in David Wright's books - see www.dovedalemodels.co.uk. The paints take between two and five days to completely dry out and I found this time very useful to blend colours and re-work any areas that I was not satisfied with.

All paint types and colours used to paint bridge
Below are photos of the completed model bridge. The road is still to be painted but shows the original plastic colour and texture. 

Painted stonework without railway bridge supports

Bridge support installed together with etch fencing 

Bridge from other side note the 14' 6'' height limit i.e. 29mm

Bridge next to a £1 coin for size reference

Seacow passing over bridge


The laser cut etch mortar lines are quite deep and therefore I plan to fill these with talcum powder and then seal with a spray matt varnish to fix in place. I then plan to apply an acrylic wash to colour the mortar.

As the oil paints take such a long time to dry, I will wait at least a week to avoid any talcum powder sticking to the stone surface. If anyone has any alternative ideas for filling the mortar lines I would be pleased to receive your comments.